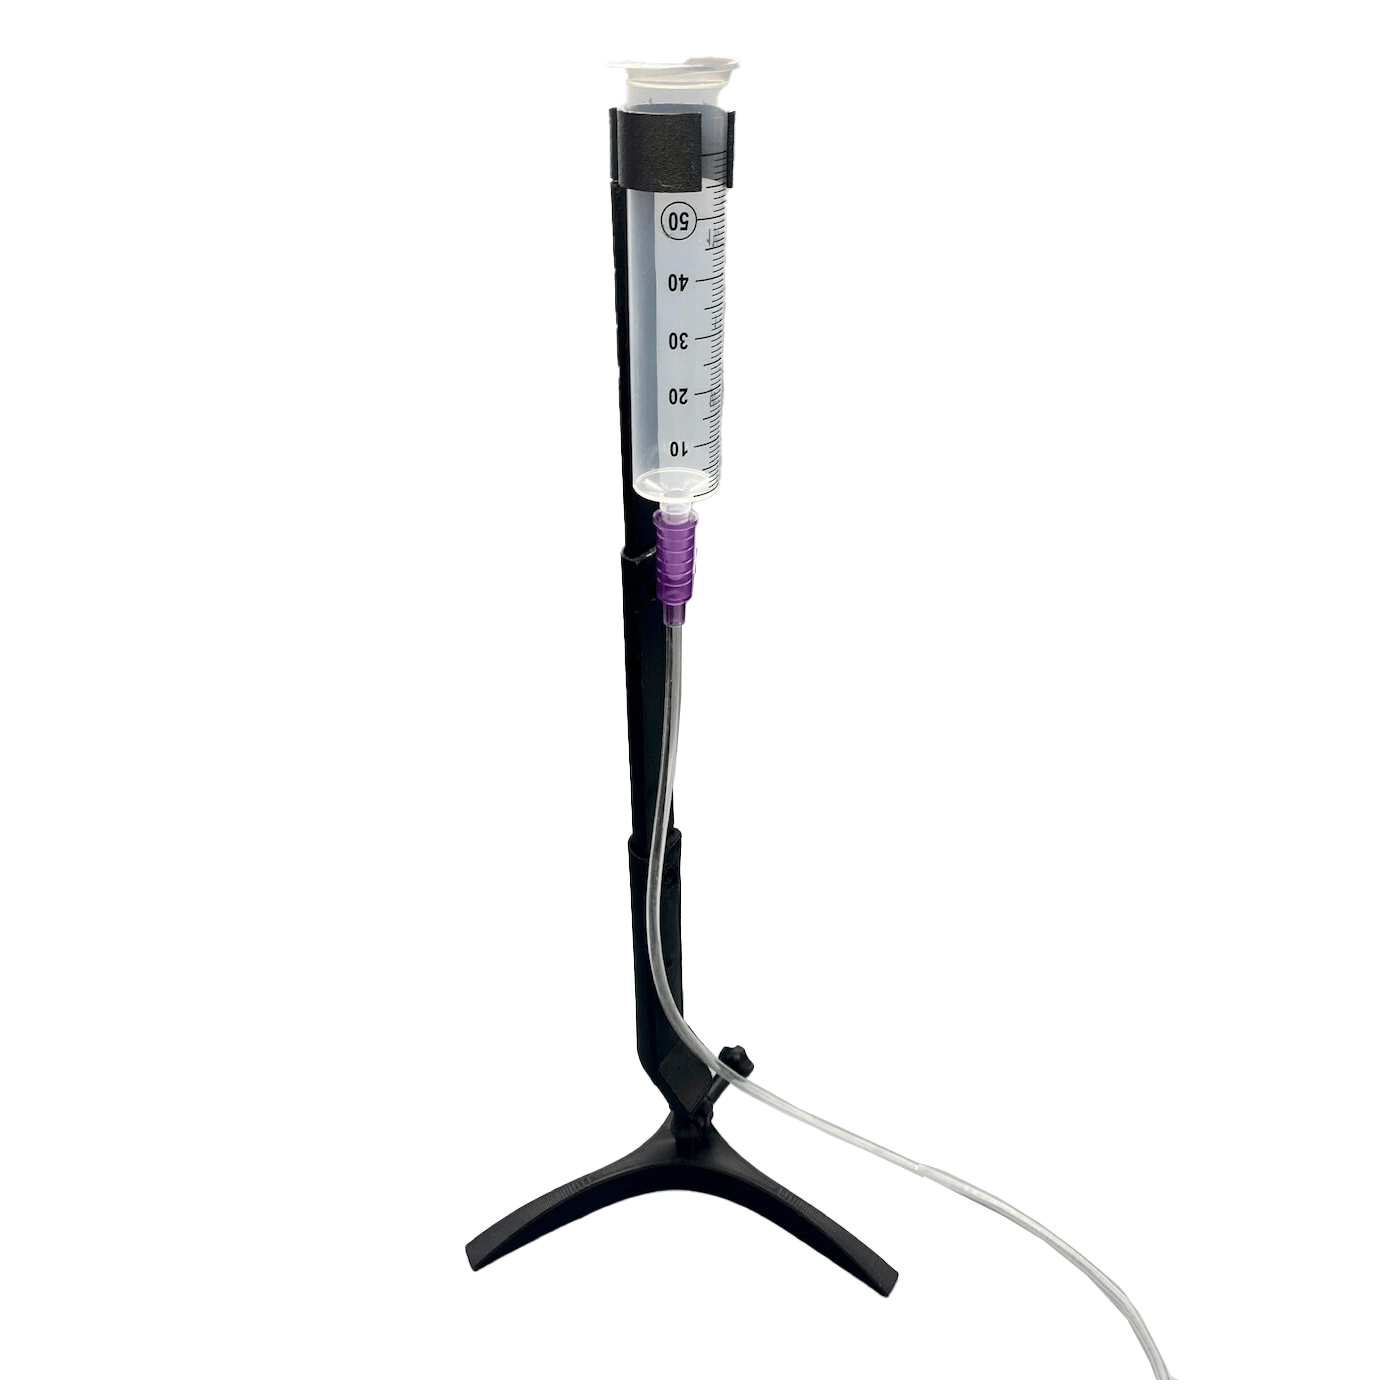
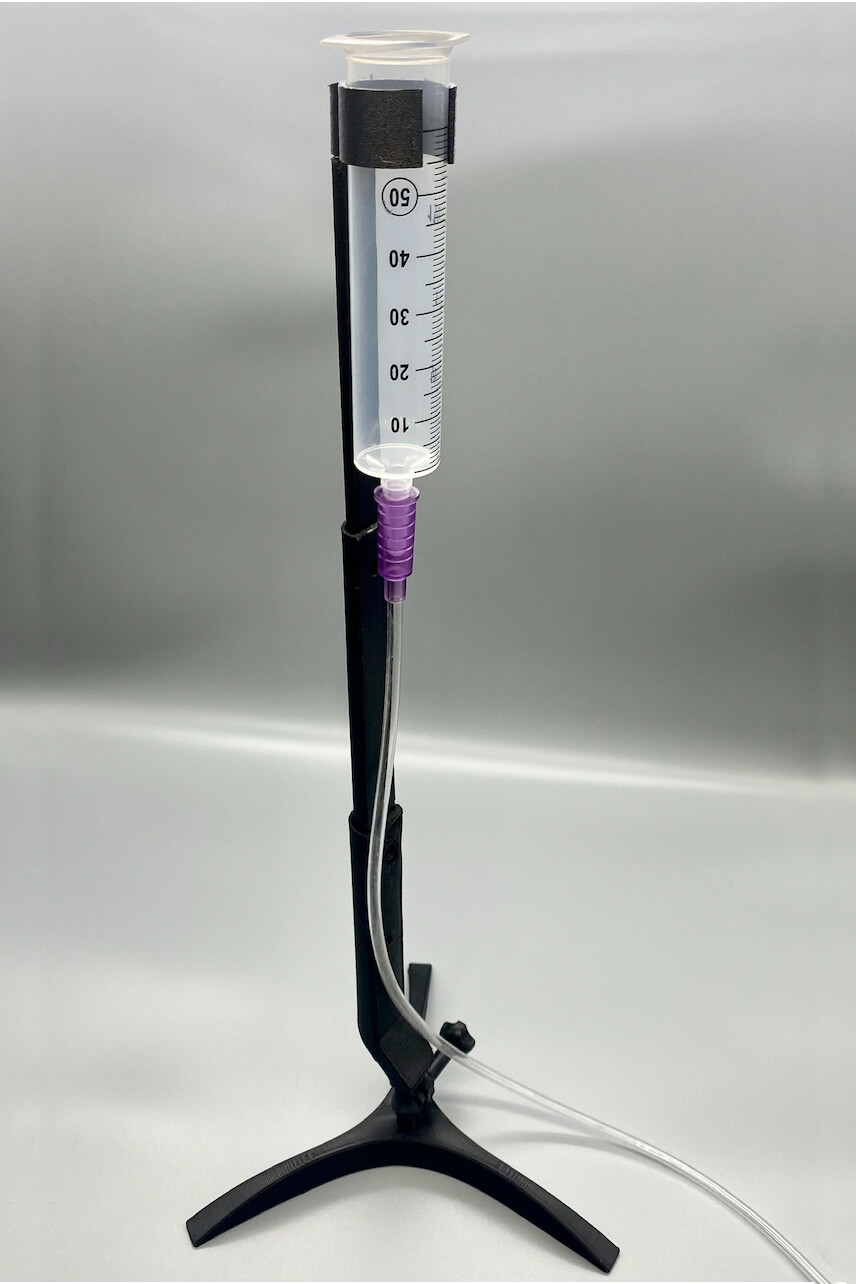
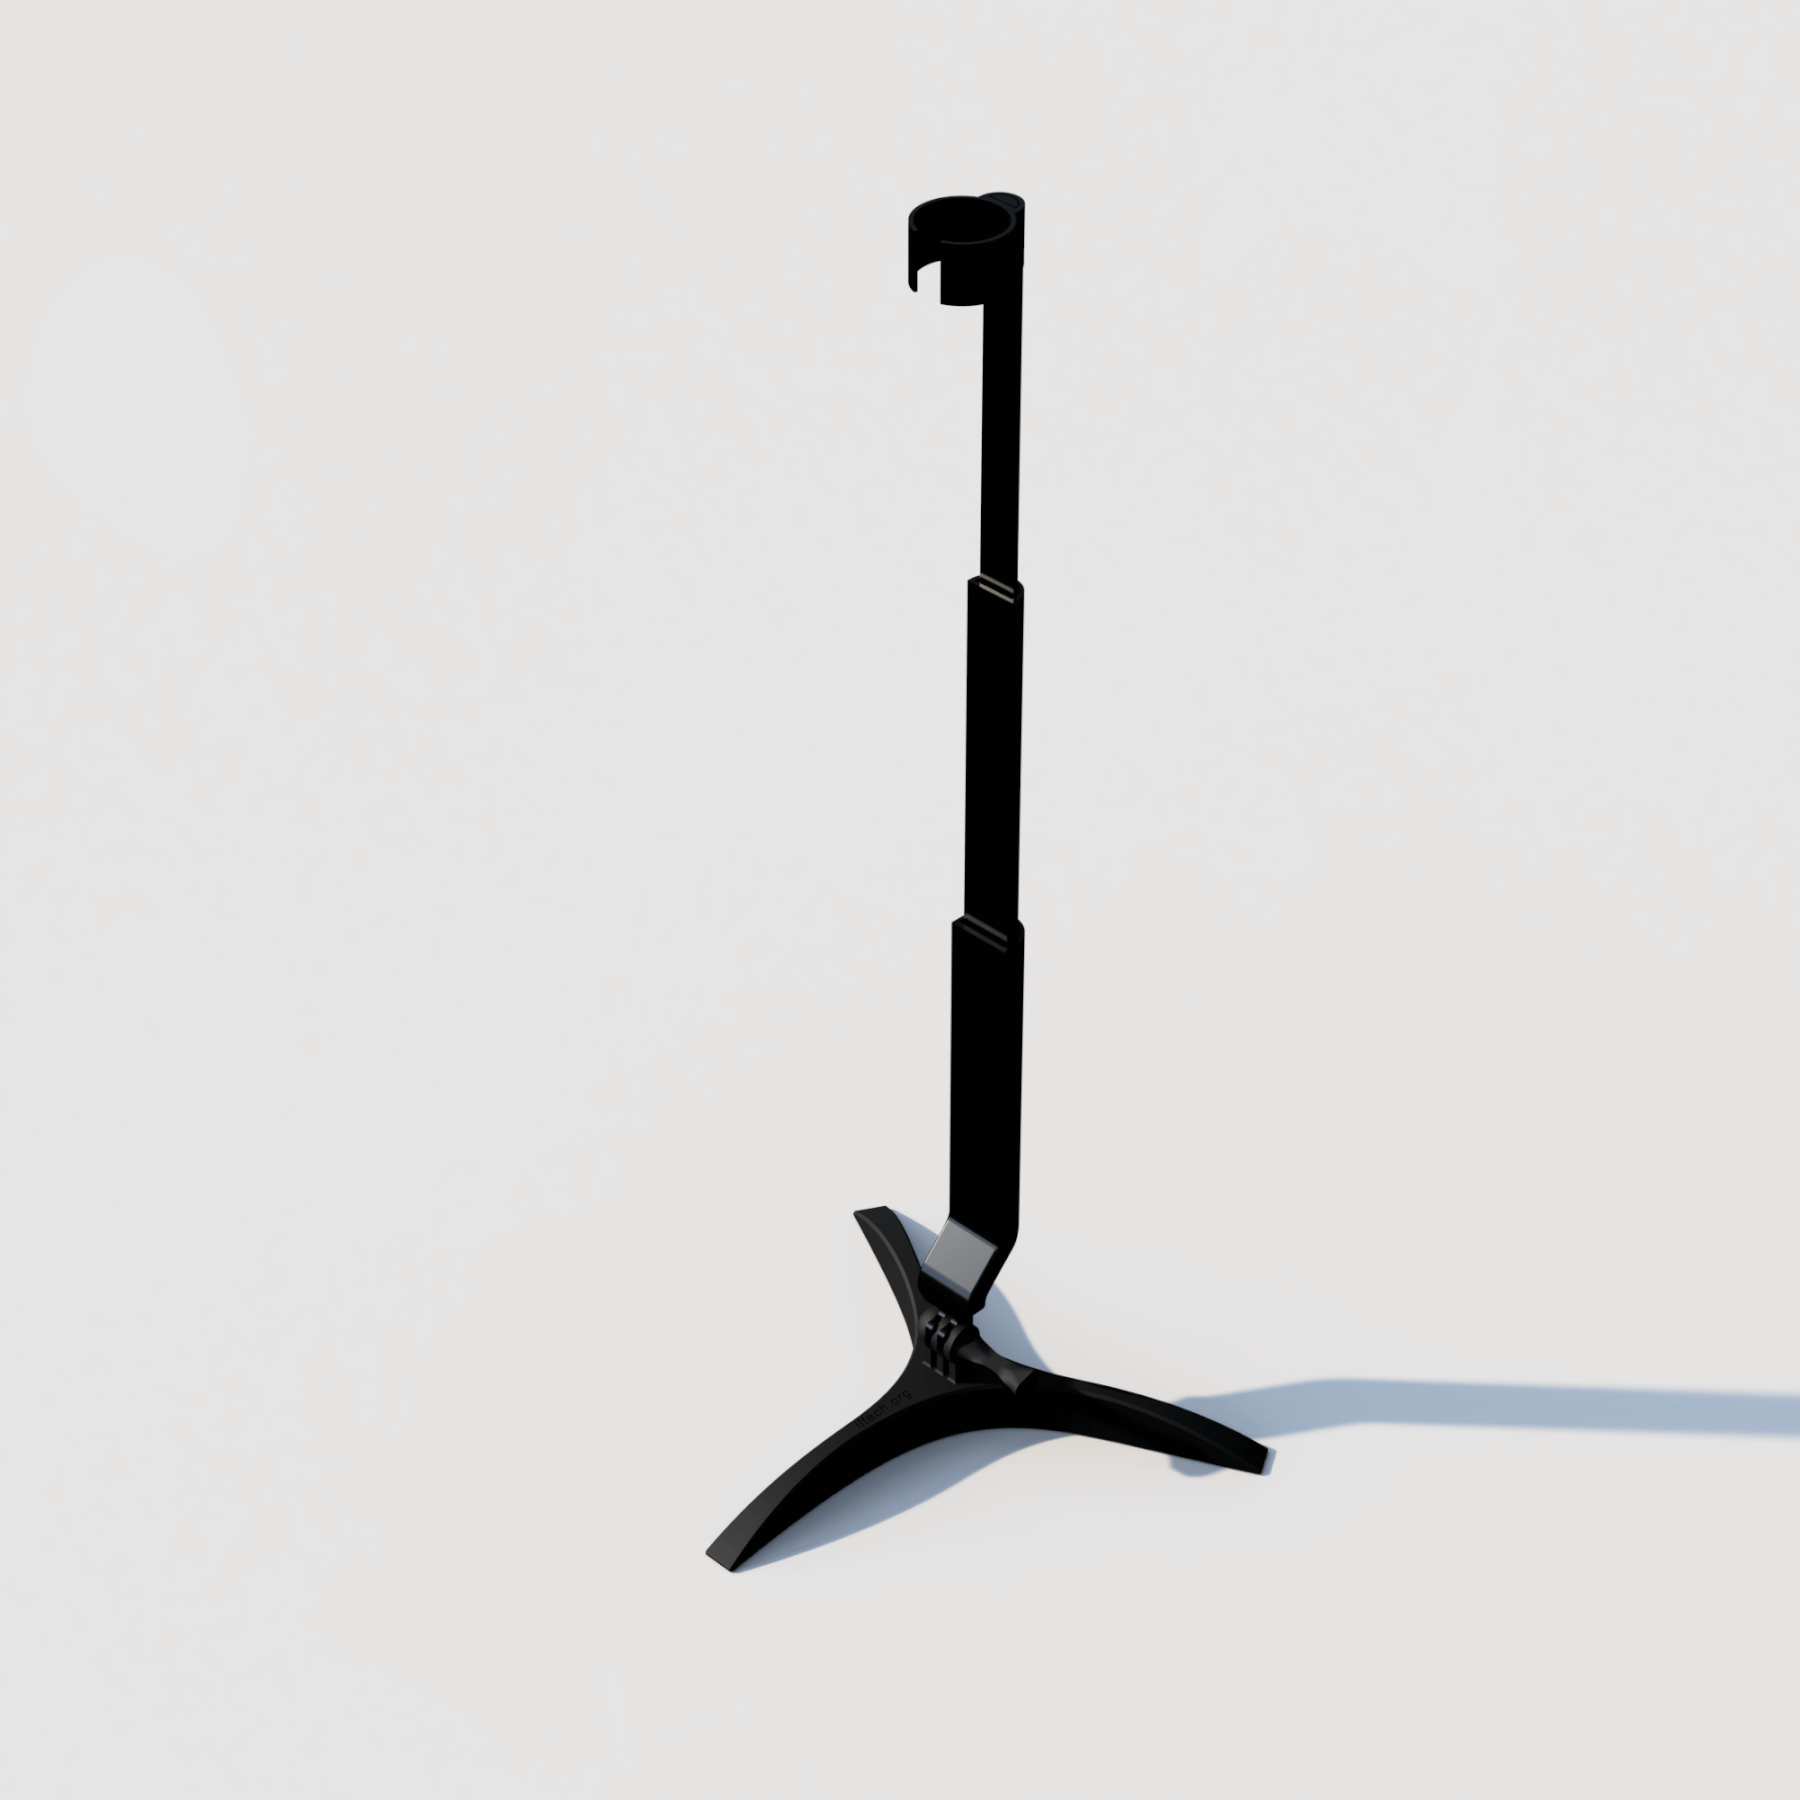
Fully-Assembled 3D-Printed Feeding Tube Holder
This product was developed as a hands-free alternative to holding a feeding tube.
Extends to a maximum height of 24″, collapseable to 10″.
Offset shaft and microsuction cup tape for base stability.
Magentic extension assembly.
Material: Nylon with Carbon Fiber
Feeding Tube Holder – Fabrication and Assembly Instructions
Introduction
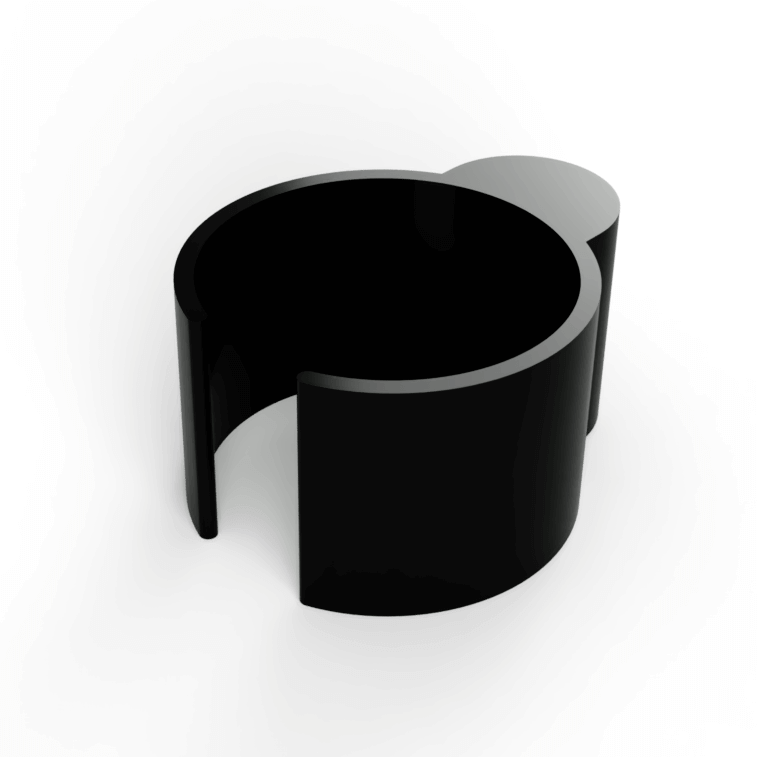
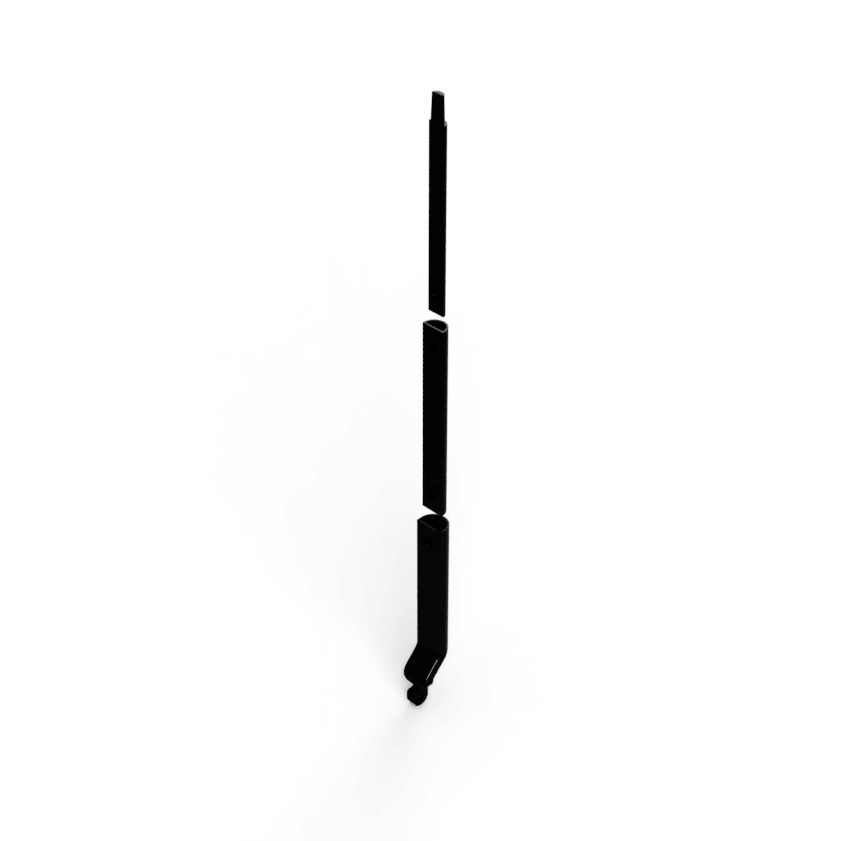
Use this guide to build the feeding tube holder featured on this page. This item consists of 3 different 3D-printed products: the universal base; the extension assembly; and the feeding tube gripper. All the items have been arranged for 3D printing and are available for download in Step 1. Small magnets are used to keep the extension assembly in place and the universal base uses microsuction cup tape to provide additional stability. Links to purchase these tools are available below.
Tools Featured in this Assembly
8x2mm Small Magnet
Microsuction Tape
Long Thumbscrew
Step 1 Fabrication
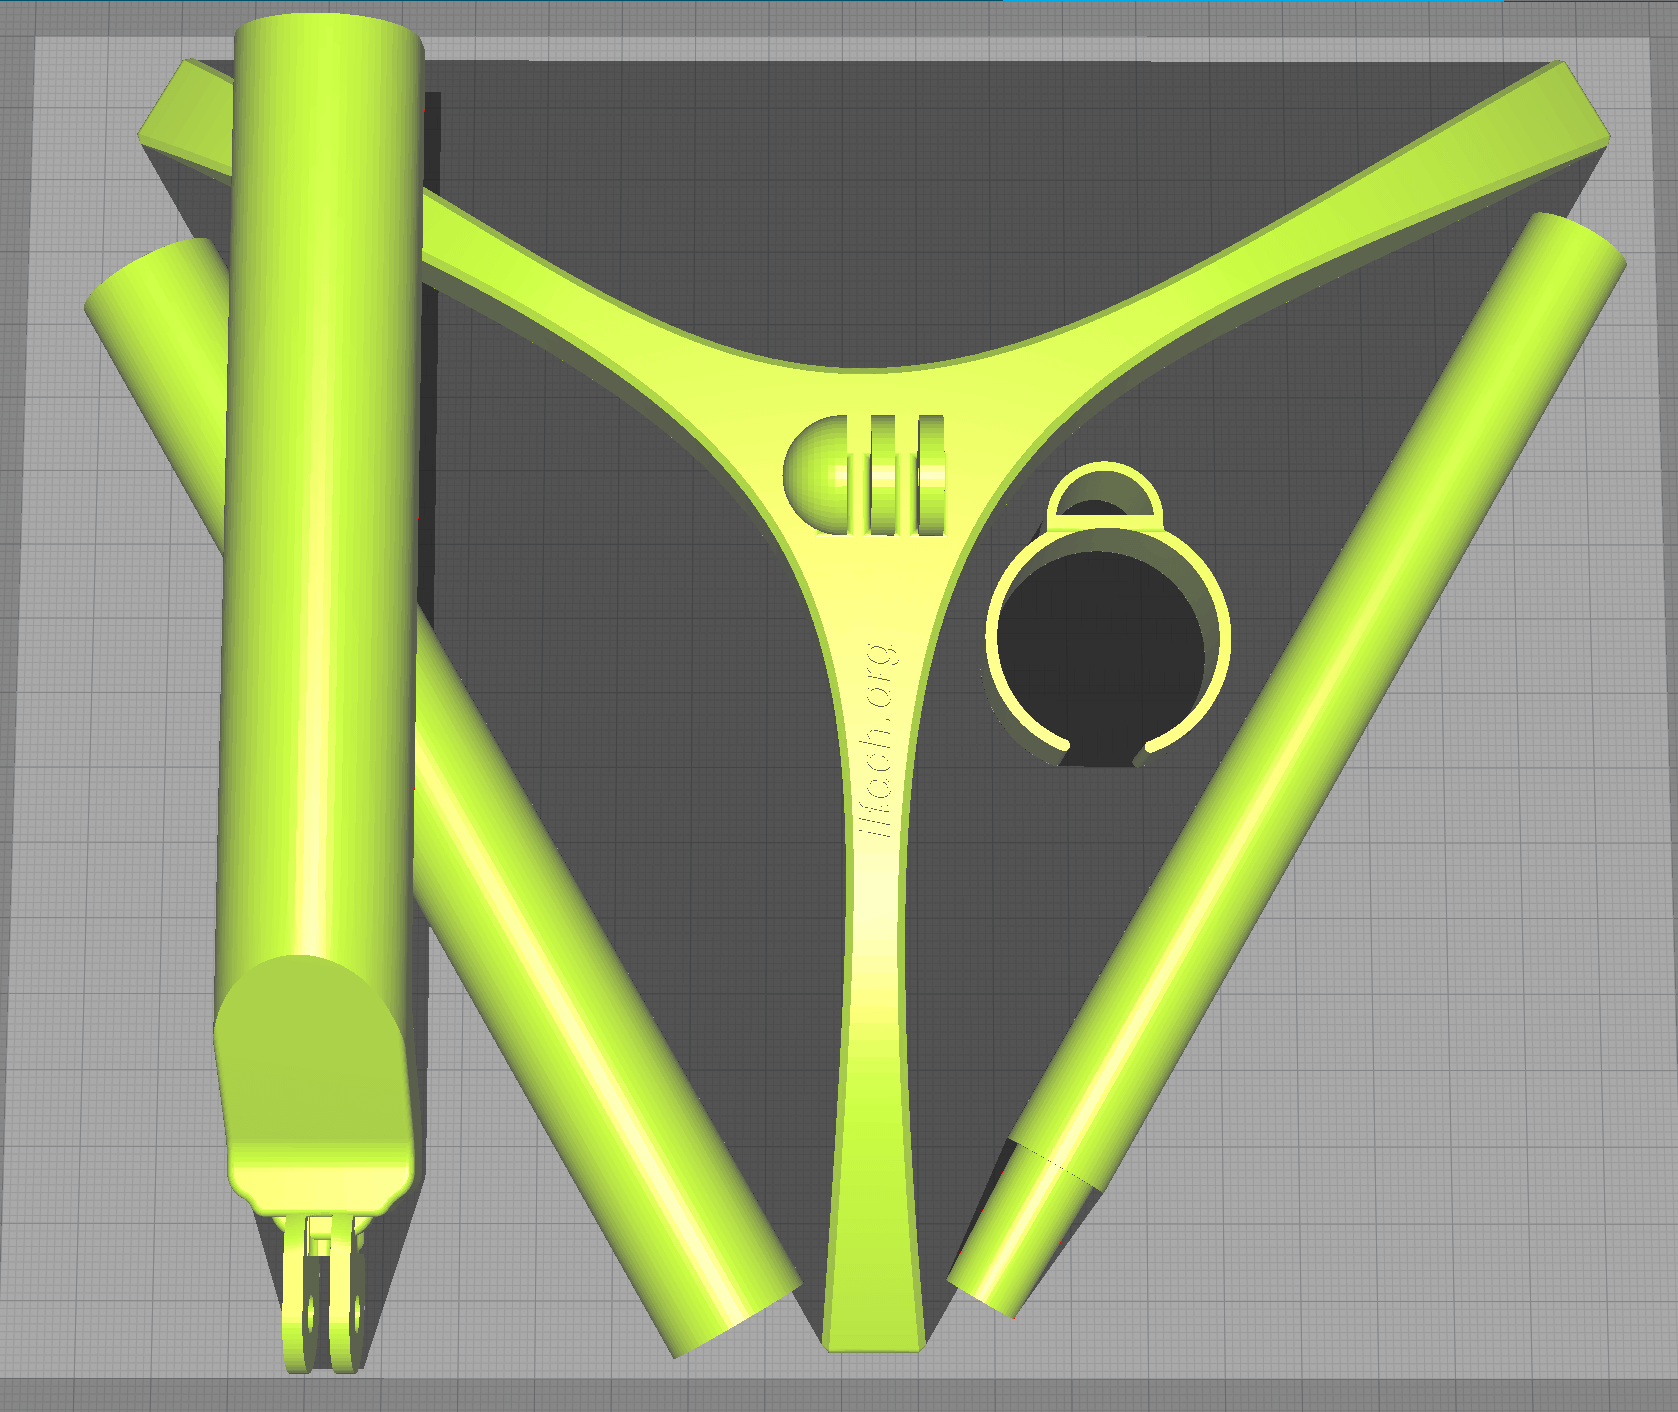
Download the STL files using the “DOWNLOAD” button below. The feeding tube assembly is laid out for an Ultimaker S3 print bed. Adjustments may need to be made to accommodate other printers.
The ideal material for the feeding tube assembly is Nylon with Carbon Fiber. This unique material provides the strength and rigidity necessary for daily use.
Step 2 Cleanup

Remove the 3D-printed parts from the build plate after it has thoroughly cooled. Using scissors, separate the pieces and trim excess plastic. Sand any rough spots that may prevent model from easy assembly.
Needle-nose pliers may be required to remove some supports.
Step 3 Assembly
Extension Assembly:
Test fit a magnet to each hole in the extension assembly to ensure holes are adequately sized. Sand holes if necessary.
Important: Before assembling, layout each magnet so that the poles are opposite in each magnetic pair when fully extended.
Apply a small amount of hot glue to 1 hole and immediately press magnet into the glue and hold until dry. Repeat until each hole has a magnet.
*Tape may be used if hot glue is unavailable.
Insert each piece of the assembly and ensure fit and
Base Assembly:
Place the base on a sheet of microsuction cup adhesive and trace the pattern. Using scissors, cut the pattern from the microsuction cup adhesive and apply to the base.
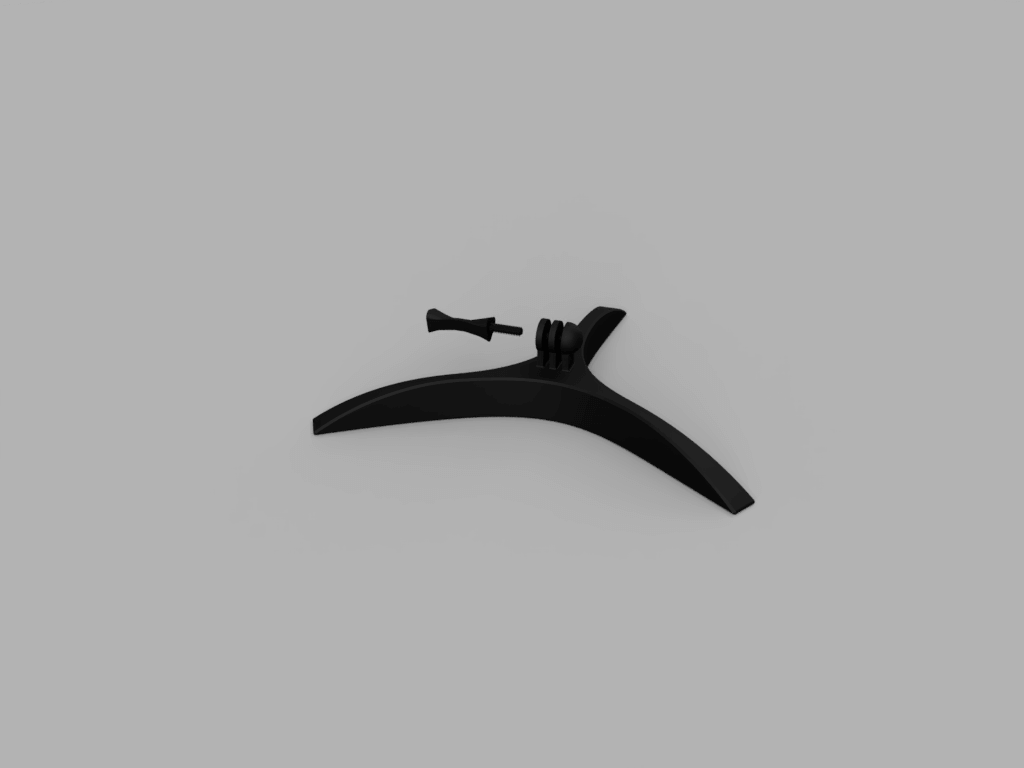
Attach the Universal Base to the Extension Assembly with the screw.
Top Assembly:
Attach the top piece to the extension assembly. Make sure the wide end is inserted first.
Ideal Print Settings:
Nylon Carbon Fiber
Nozzle Diameter: .6mm
Layer Height: .37mm
Supports only on objects touching the build plate
Our devices are available to Illinois residents free of charge. However, we do accept donations to support program costs.
Suggested Donation
This work is licensed under a Creative Commons Attribution 4.0 International License.
